Smart Notes organizes saved class content into a document you can keep editing. It can combine class transcripts, readable courseware in this class, and completed Q&A to help explain concepts and examples. Generation is a starting point: change the structure, add your understanding, and check formulas and original sources to make notes that support your review.
Watch the walkthrough
This video is currently unavailable. Open video in a new window
Before you begin
Sign in and open a real class. Wait for captions, courseware, and other pending content to finish saving. Courseware needs readable text; not all information in images is necessarily included. If sources are insufficient, add captions or readable courseware first. The demo class cannot create real cloud-saved Smart Notes.
Choose a note style and generate
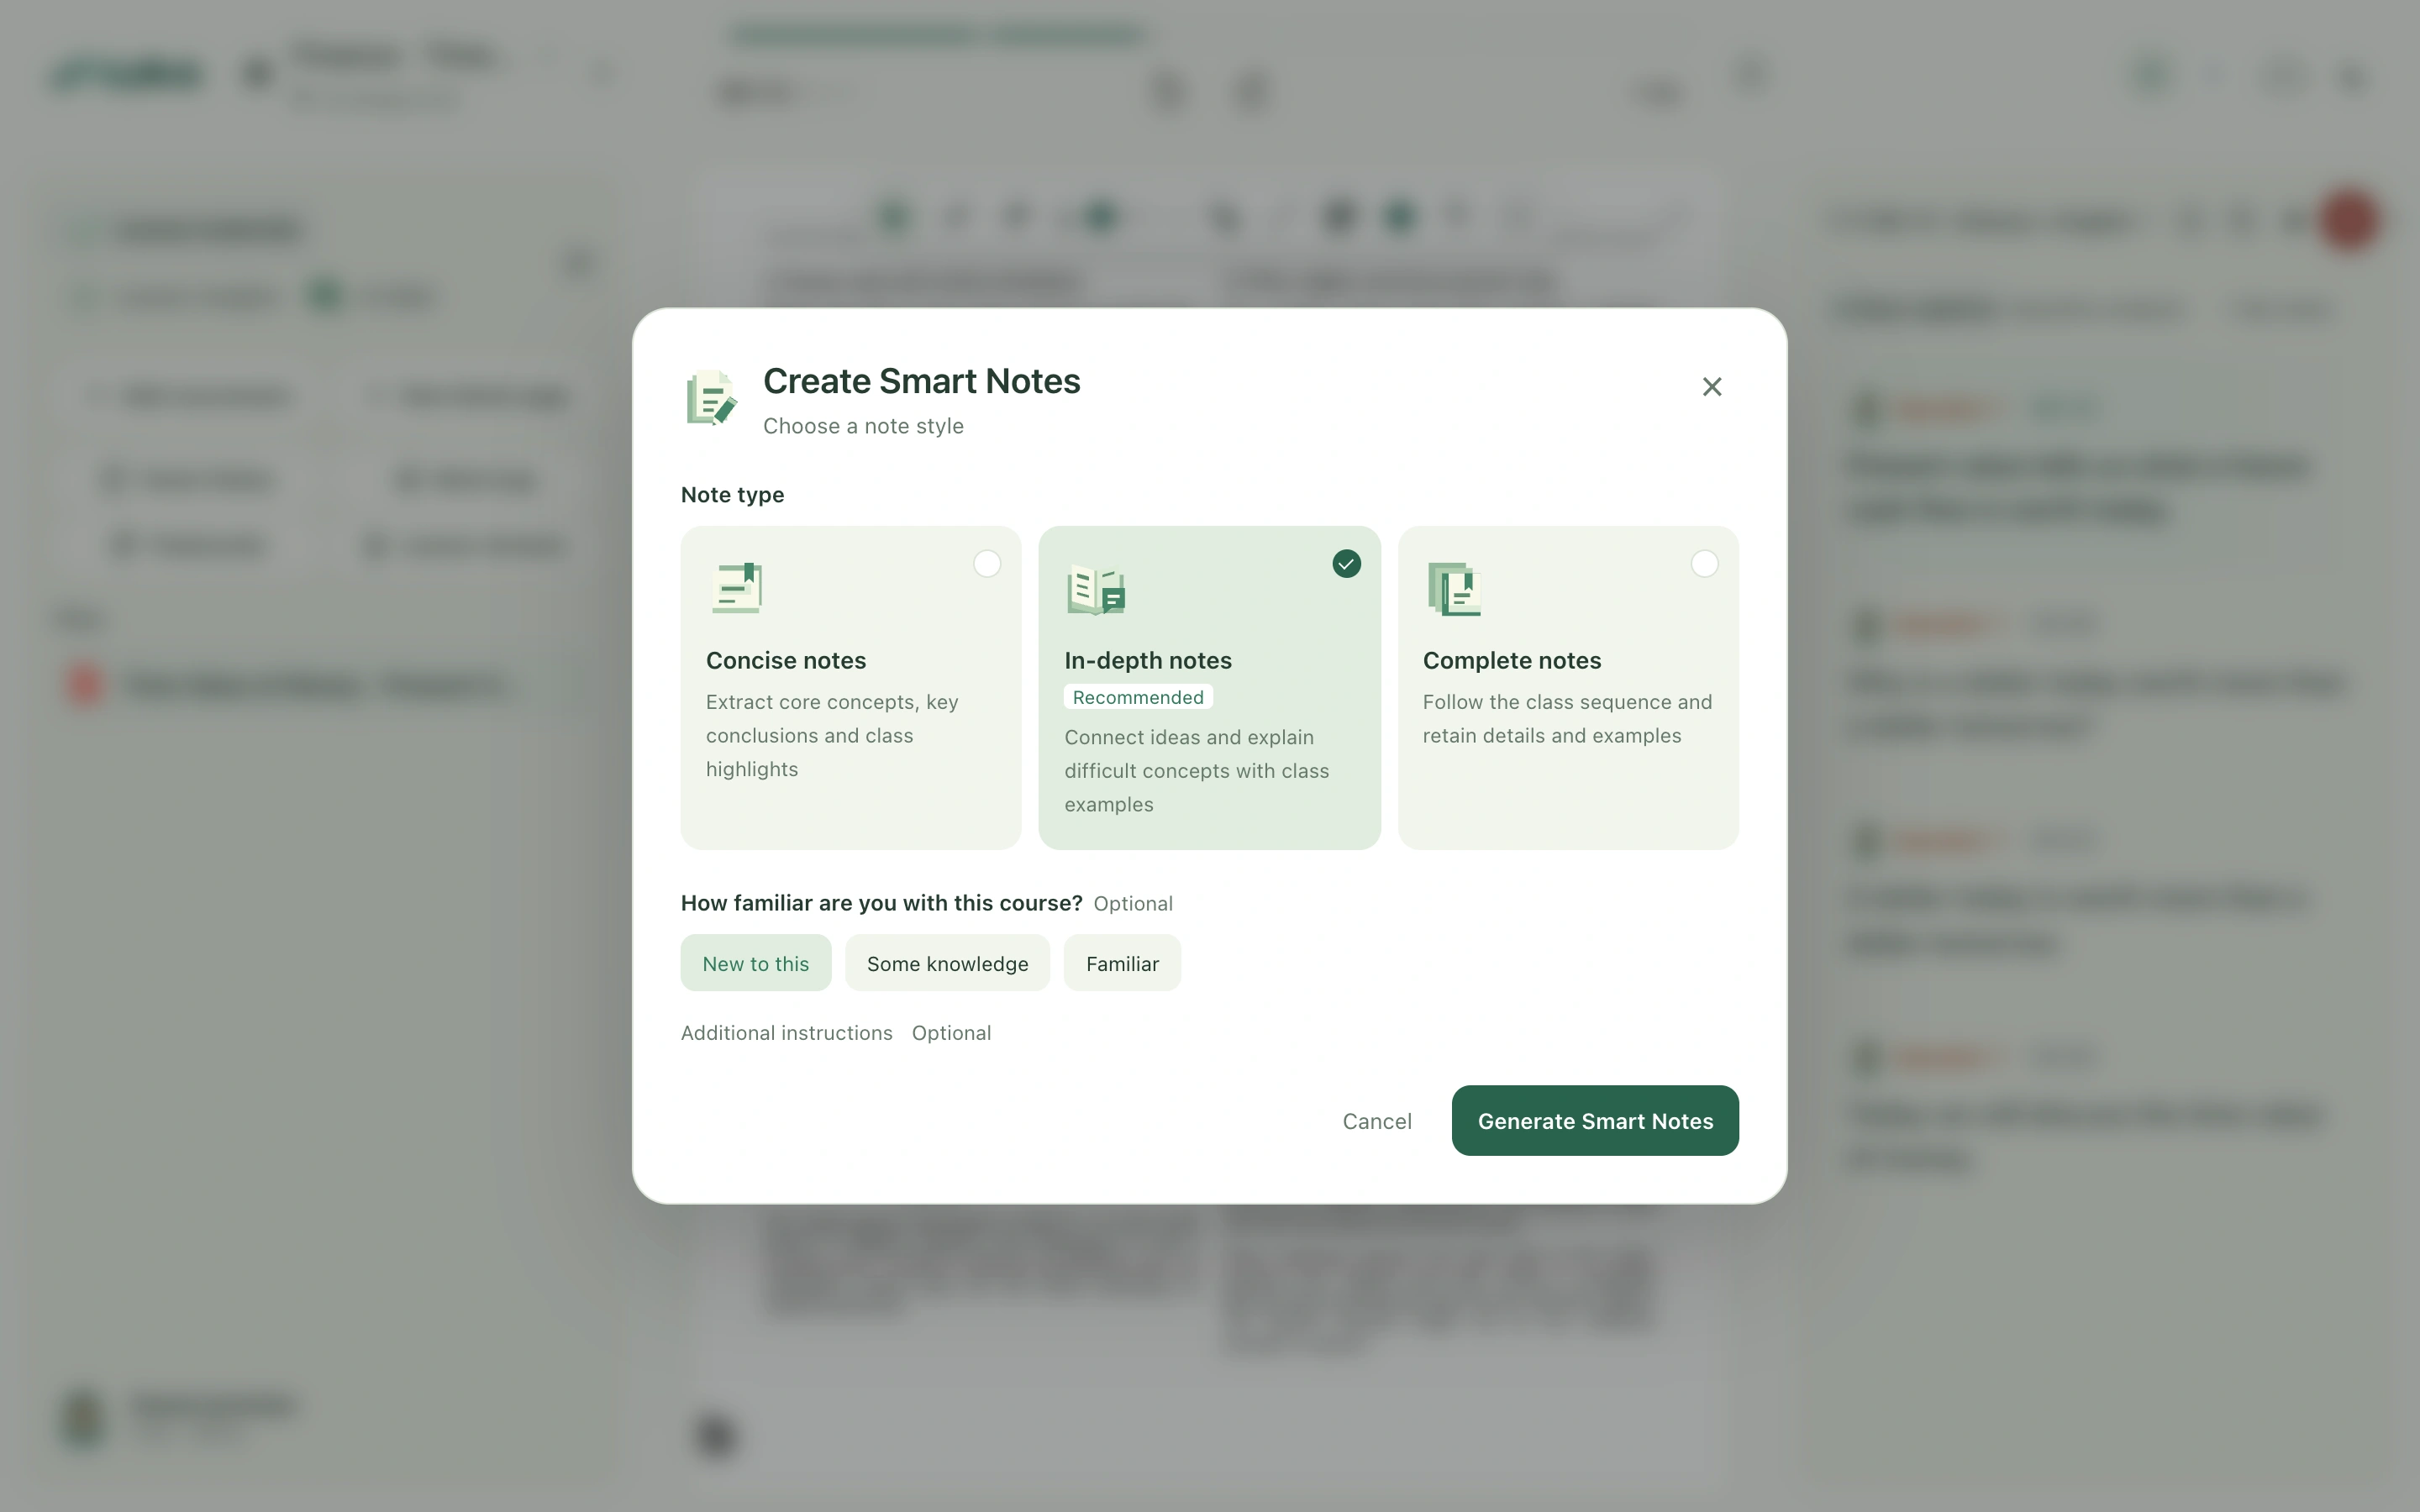
- In the study tools under Lesson materials, select Smart Notes to open Create Smart Notes.
- Choose Concise notes, In-depth notes, or Complete notes. Concise notes focus on core concepts and conclusions. In-depth notes focus on relationships and difficult points. Complete notes follow the class sequence and retain details and examples.
- Optionally describe how familiar you are with the subject. Expand the additional requirements and write a specific request, such as “Keep English terminology and focus on formulas and worked examples.” You can leave these fields empty.
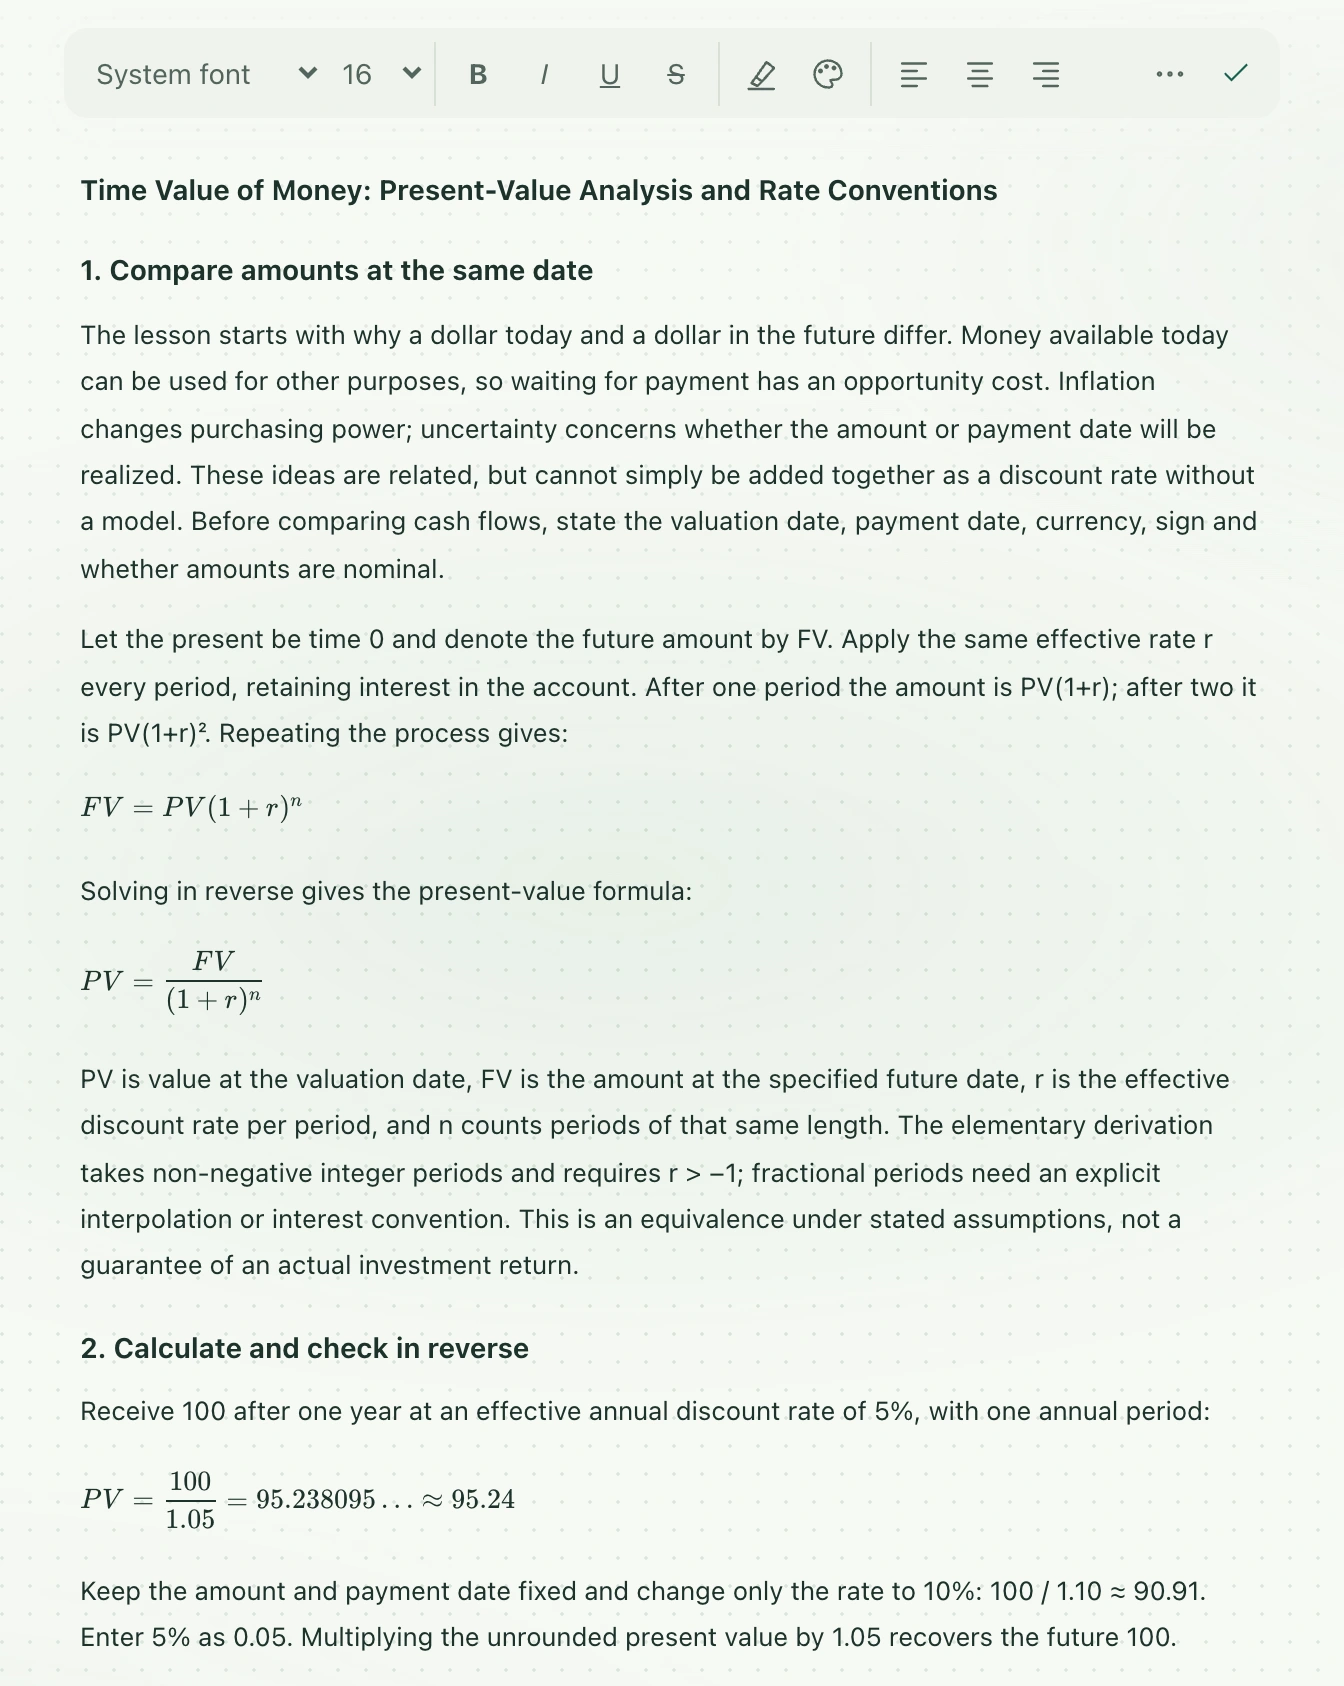
- Select Generate Smart Notes. Content appears progressively in the central area. Wait for generation and confirmed saving before editing, so that an unfinished draft is not mistaken for the final document.
- Select the body to edit it. Use the text tools for headings, lists, colors, and inserted content. If toolbar space is limited, look in More tools for actions that have been tucked away.
Saving, regenerating, and version history
Edits enter the saving process automatically. The status icon stays in a fixed toolbar position, spins during saving, and shows a check when confirmed. You do not need to keep looking for an extra save button. Select Smart Notes again to adjust the settings and regenerate. The class uses one current note document; successful regeneration replaces its content and retains history. Wait for your edits to save first. A failed regeneration keeps the previously successful content. To retrieve older content, open version history in the toolbar, preview a version, then restore it.
If generation or saving has a problem
If there is not enough content, confirm that the class and courseware have saved and that the file text is readable before trying again. Repeated clicks do not supply missing sources. Follow the instructions to adjust materials that exceed capacity. If a notice says only saved, readable content was included, interpret the result within that scope and add image information or uncaptured classroom details yourself. Use Retry save after a save failure. For a version conflict, compare Keep and save local edits with Use cloud version before choosing. Keep the page open while your edits remain unsaved.