
A mind map helps you see relationships when reviewing: what the class is discussing, which concepts belong to the same topic, and which questions need checking in the materials. Syllink can generate a map from the current class’s recorded transcript and readable courseware text. You can edit node text afterward. Use it to organize your next steps, then check important concepts against the teacher’s words and original materials.
Watch the walkthrough
This video is currently unavailable. Open video in a new window
Before you begin
Sign in and open your own class. Wait for the class and its materials to load. It needs a transcript or added courseware with readable text. Blank pages, files that have not loaded, and scans without extractable text may provide insufficient content. Check that you have opened the class you want to review before generating.
Follow these steps
- Find the after-class study tools in Lesson materials on the left and select Mind map. Its tooltip is Generate mind map. Expand the materials sidebar first if it is collapsed.
- Watch the generation status in the file list. Wait for the current task to finish rather than repeatedly clicking. If the entry says generation is incomplete, select its retry action.
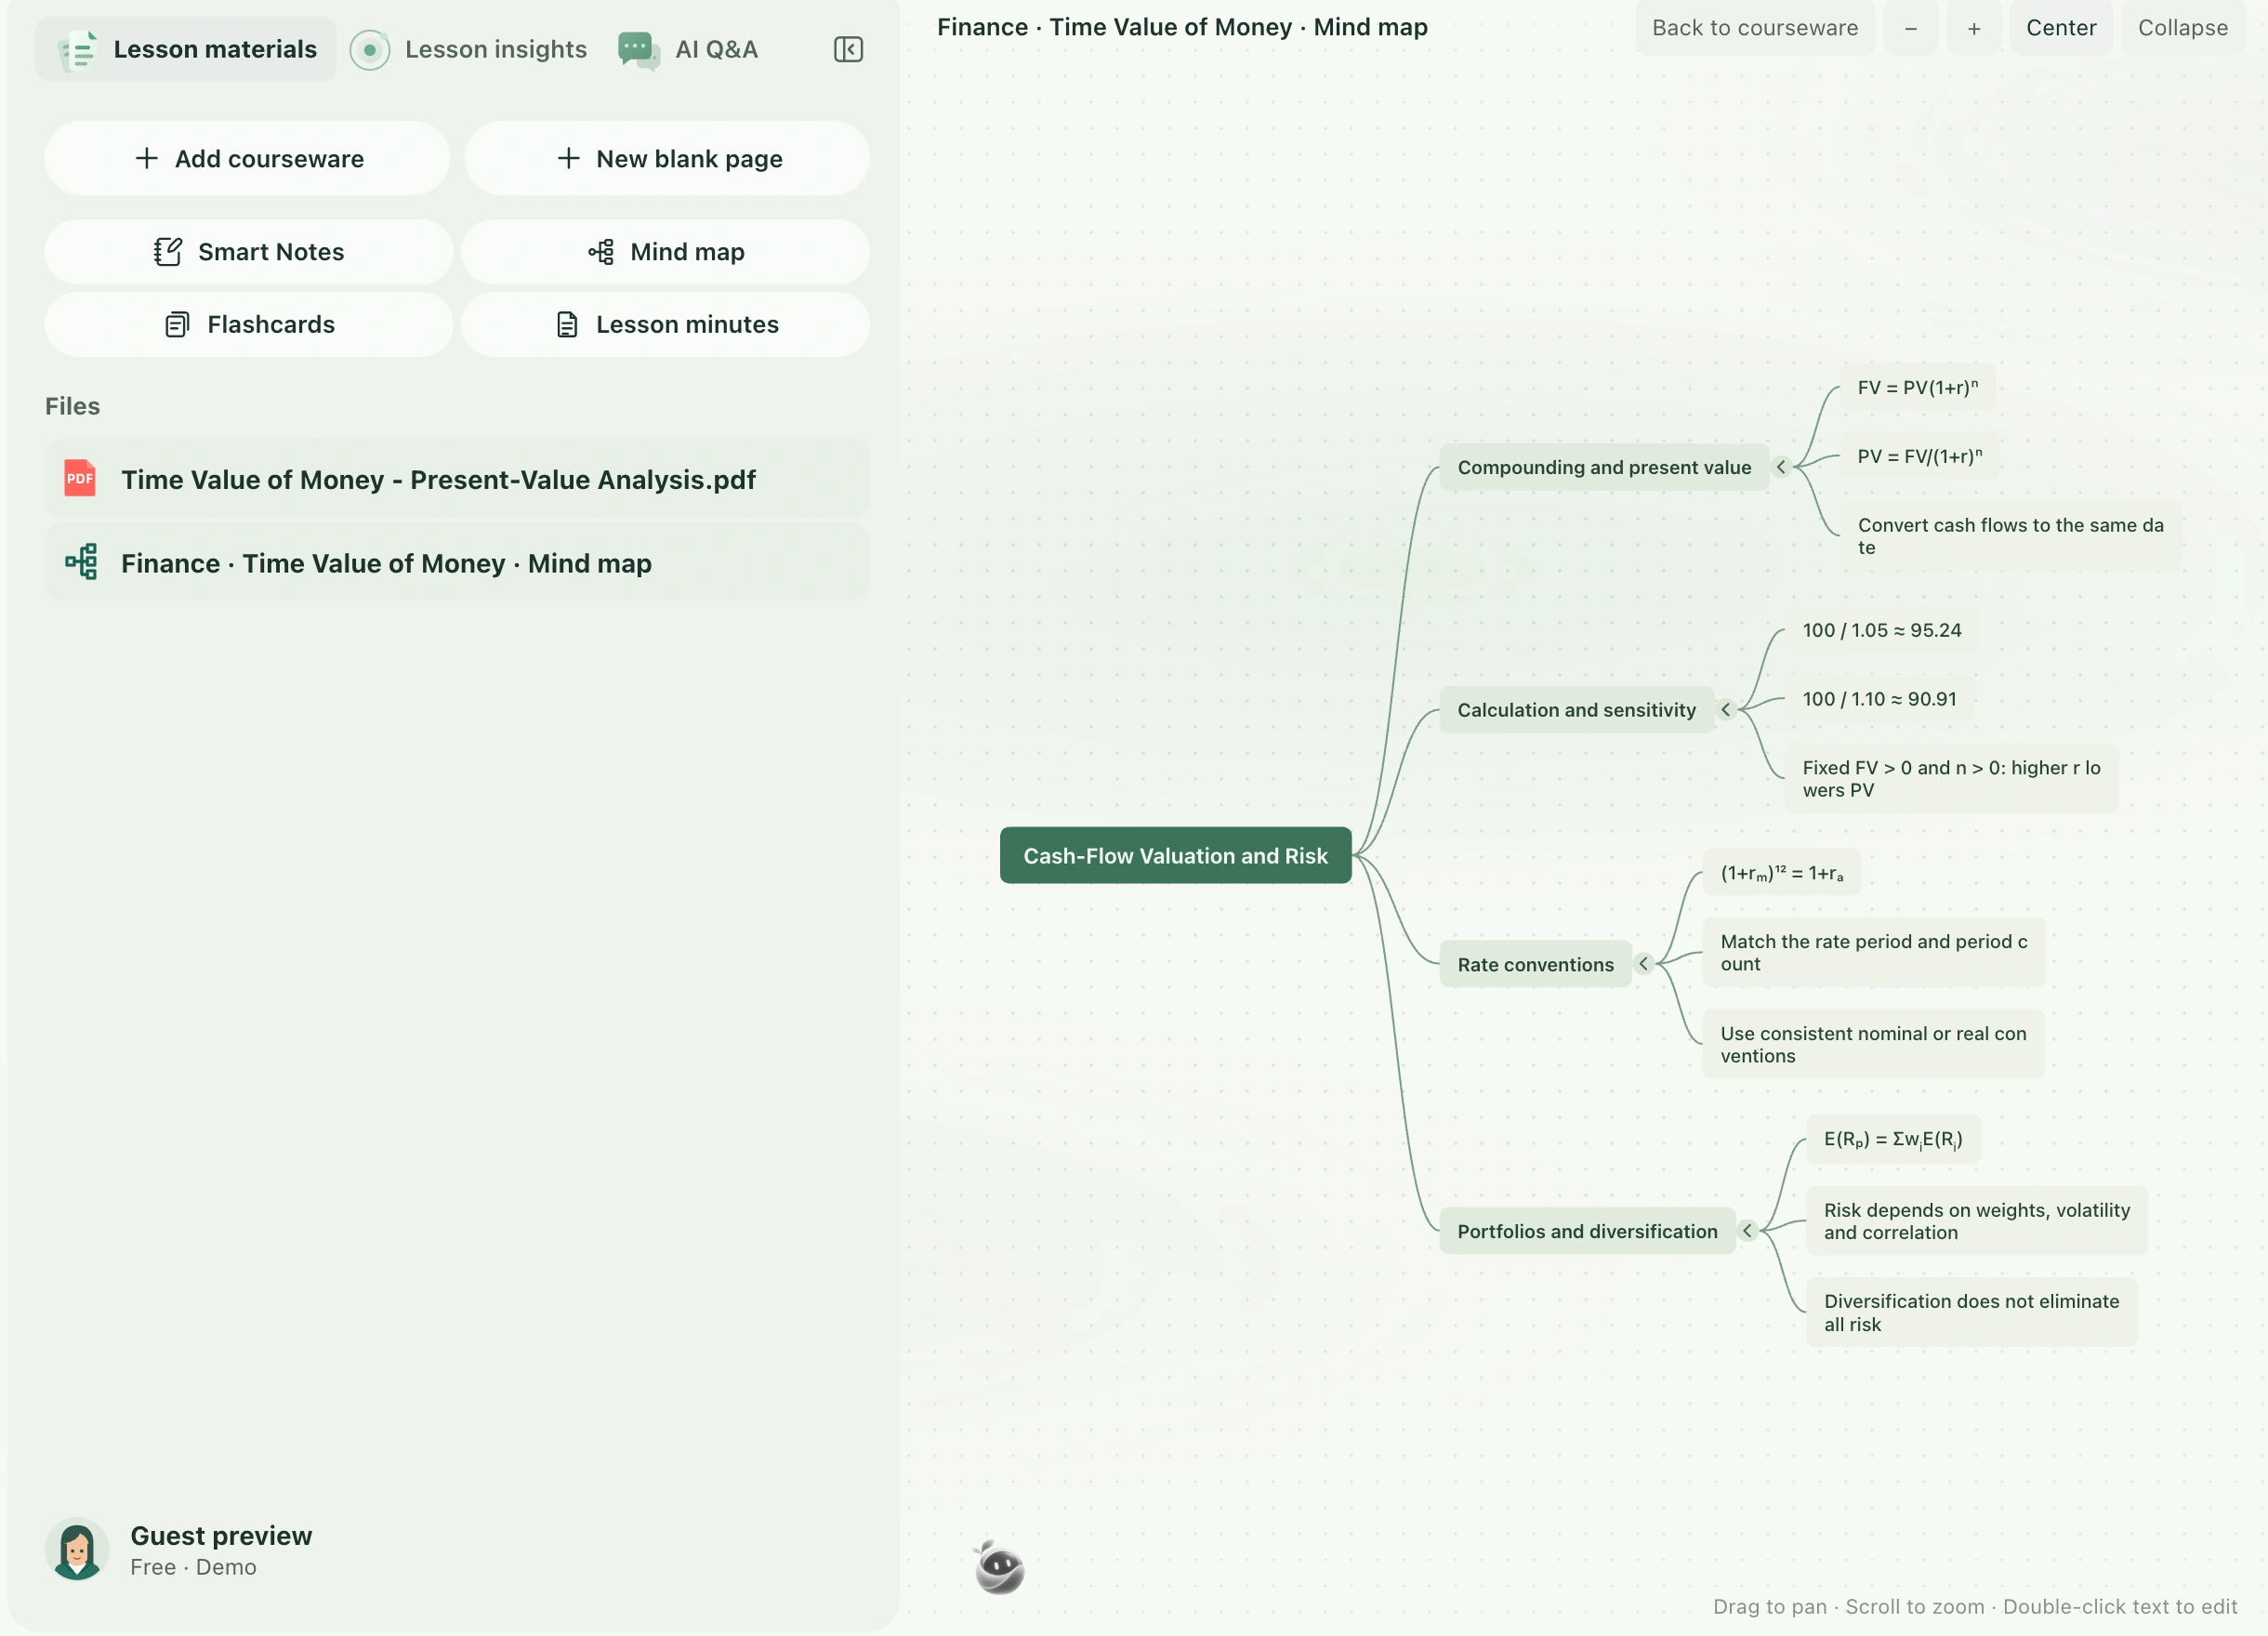
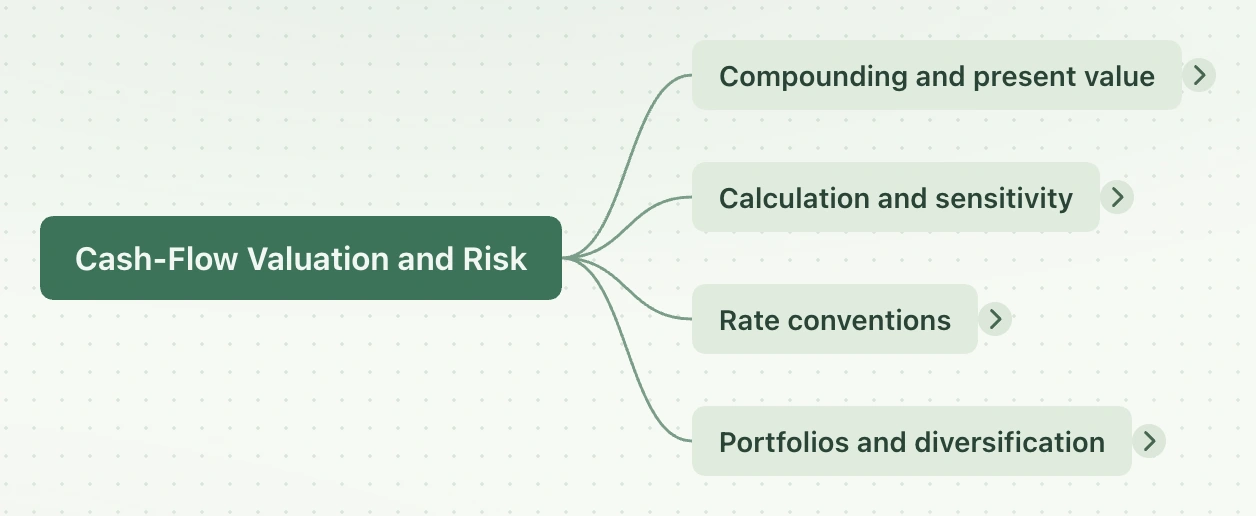
- When generation finishes, select the map file in the list to open its canvas in the center. Read the central topic, then check which branches the concepts belong to. The number of nodes alone does not establish completeness.
- Drag the canvas to move around. Use the scroll wheel or toolbar minus and plus buttons to zoom. Select Center to find the middle. Use Collapse for a busy map and Expand to show the branches again.
- Double-click a node’s text to edit it. Correct the terminology or relationship, then select elsewhere on the canvas to finish editing. Use Back to courseware when you want to resume reading the original file.
Where the map is kept and how it saves
The map stays as a separate item in class materials. In your own class, node edits save automatically and you can reopen the same item after returning to the courseware. A failed save shows Retry near the entry. For a version conflict, choose between saving your changes and restoring the cloud version. Decide whether to keep your current edits before restoring. A demo map is only a local demonstration and does not establish that it has saved to your account.